The car battery is an essential component of your car, and needless to say, it can result in many headaches during road trips. How many times do you remember your car battery giving up in the middle of a highway with no gas stations nearby? We can definitely remember a few and they do not really induce a happy feeling! Therefore, maintaining and replacing car batteries is crucial to the overall functioning of your car. This is one basic mistake that we notice amateur car-enthusiasts make time and time again. Checking the condition of your batteries at regular intervals eradicates such experiences and ensures smooth sailing.
Now, checking and replacing car batteries is not that difficult and one can take care of it right in their own garages. However, there is a bit of a learning curve to it and the process can quickly go downhill if you do not know what you are doing! This is the reason we decided to put together this handy guide so that you do not end up like the 18-year old me – clueless, a car with a dead battery and a group of friends looking at me disappointingly.
How Often Should You Change Your Car Battery?
The average lifespan of most automotive vehicle batteries is about two to three years. Take note of any warning signs that indicate weak battery power to avoid mishaps.
It is advisable that you follow your manufacturer specifications and the owner’s manual for details on battery maintenance and change, that fit your car model.
Should You Replace Your Own Car Battery?
It is not advisable to replace your car batteries if you are not a professional, well-versed with the trade. Car parts include several engineering intricacies put together in their creation and for continuous operation. Any mistake from your end might cause greater damage to your car than the existing one.
Is It Dangerous to Change a Car Battery?
While you attempt your own car battery change (to save a few costs), instead of seeking professional help, you risk your car to greater complications. And also, while dealing with electrical components and without proper expertise for the work in hand, you put yourself at risk of injury.
The Rundown
You should know what the battery does and how it is connected to the system before you try to tinker with it. Your car battery contains highly corrosive sulfuric acid solution that can burn through your skin, so make sure you have protective gloves handy. Also, make sure the area is well ventilated.
If you are using your garage, then make sure the garage door is open before attempting to replace the battery. Use your driveway for best results. Taking off all metal objects like jewellery and watches is also recommended in order to prevent electric shocks.
Changing Car Battery – The Method
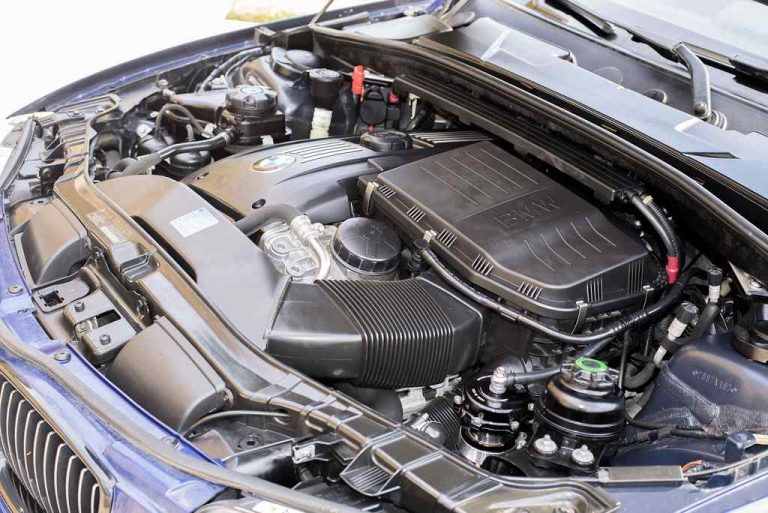
Now that you are prepared to replace the car battery, go ahead and pop open the hood. If you are attempting this all by yourself, chances are you have some basic knowledge regarding car systems and how they interact with each other. If not, then we strongly advise requesting professional help from a local auto garage or a friend who is well-versed with the procedure.
However, if you are confident with your own skills, then follow these steps accurately for car battery replacement without much hassle:
6 Steps to Change Car Battery
-
Locate:
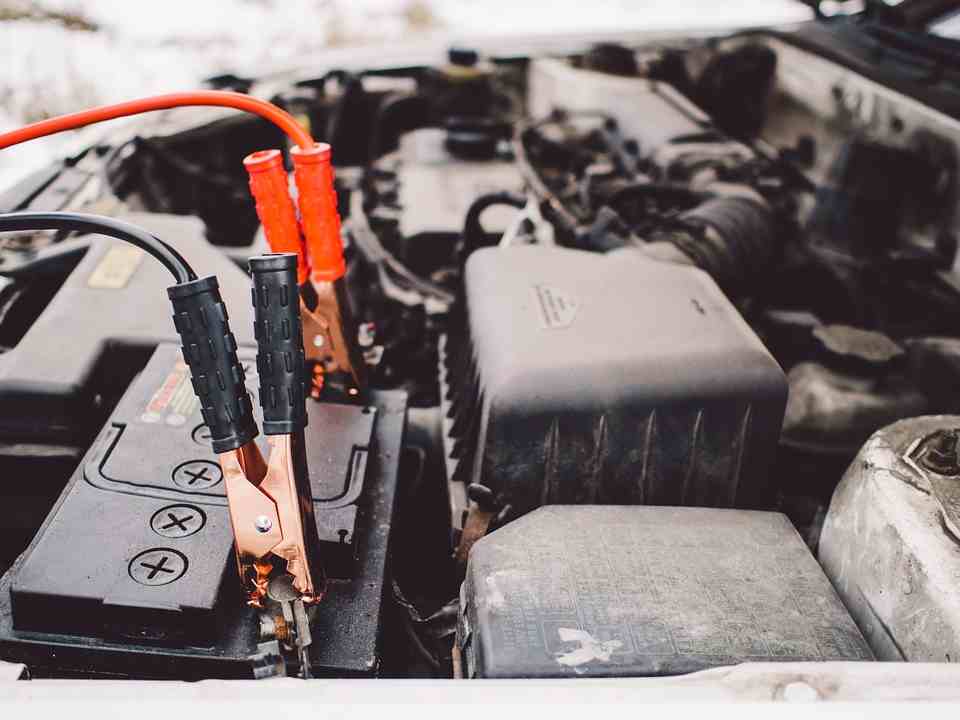
Once you pop open the hood, try to locate the battery unit itself. Most cars have it in one corner by the engine bay but if you are having trouble locating it, then refer to the user’s manual – it should contain a graphic containing the exact location of the unit. Most newer models tend to enclose the battery in a plastic casing in order to prevent it from external elements so make sure you have the proper tools handy before starting the process.
-
Disconnect:
In order to replace the old battery with a new one, you will need to disconnect the old one first. This step requires careful operation so make sure you are paying attention and concentrating on the task at hand in order to prevent any mishaps.
Once you locate the battery unit, pay careful attention to the two cables and where they are connected with the unit. Locate the negative terminal first (marked with a minus sign) and disconnect that cable before removing the positive end. Loosen the clamp with a wrench and then slide it off the terminal. Use a wire to secure the cable to the engine bay making sure that it doesn’t come in contact with anything metal. Once done, repeat the process for the positive terminal.
-
Remove:
Once the cables have been disconnected and properly secured, check the battery cabinet and inspect it for any connectors that are in place to secure the battery unit. If any, go ahead and use proper tools to remove these locks. Depending on the car model and make, you may require a socket wrench, a proper-sized socket and an extension bar. Once the fasteners have been removed, carefully lift the battery unit out of the engine bay and place it on a flat concrete surface. The unit can be extremely heavy, so having a friend helps.
-
Shine:
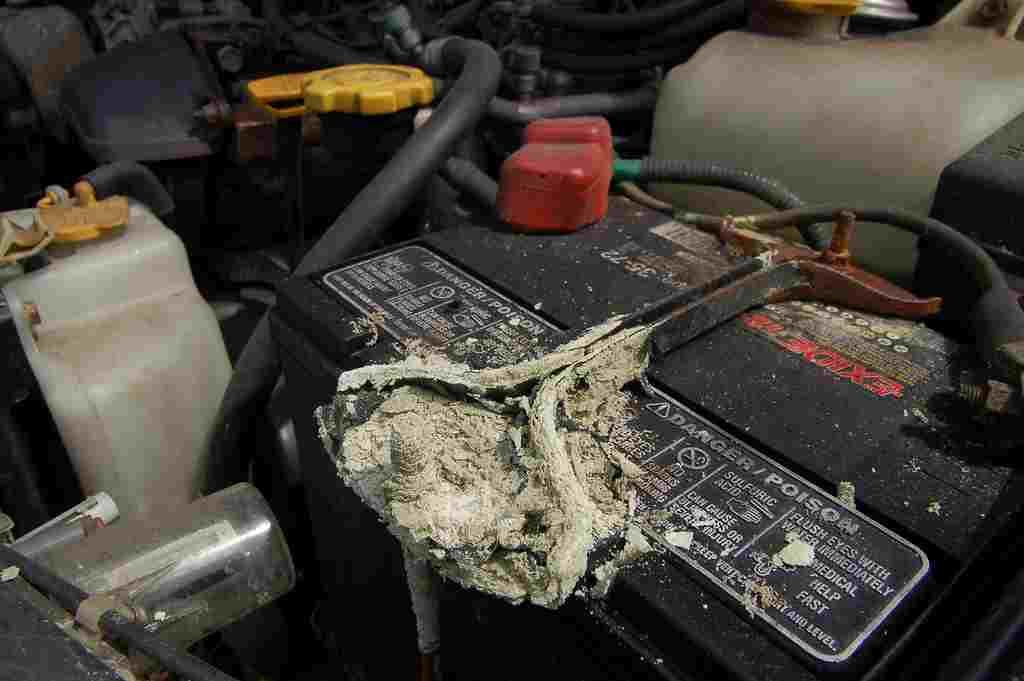
Check the surface of the connectors for any sign of rust or corrosion. If any, use emery cloth or 100-grit sandpaper to carefully brush off the corrosion until shiny. This is also a good time to check the engine bay for any signs of corrosion as well. Make sure you clean the area properly before connecting the new battery. Also, make sure you have protective gloves on in order to prevent burns.
-
Replace:
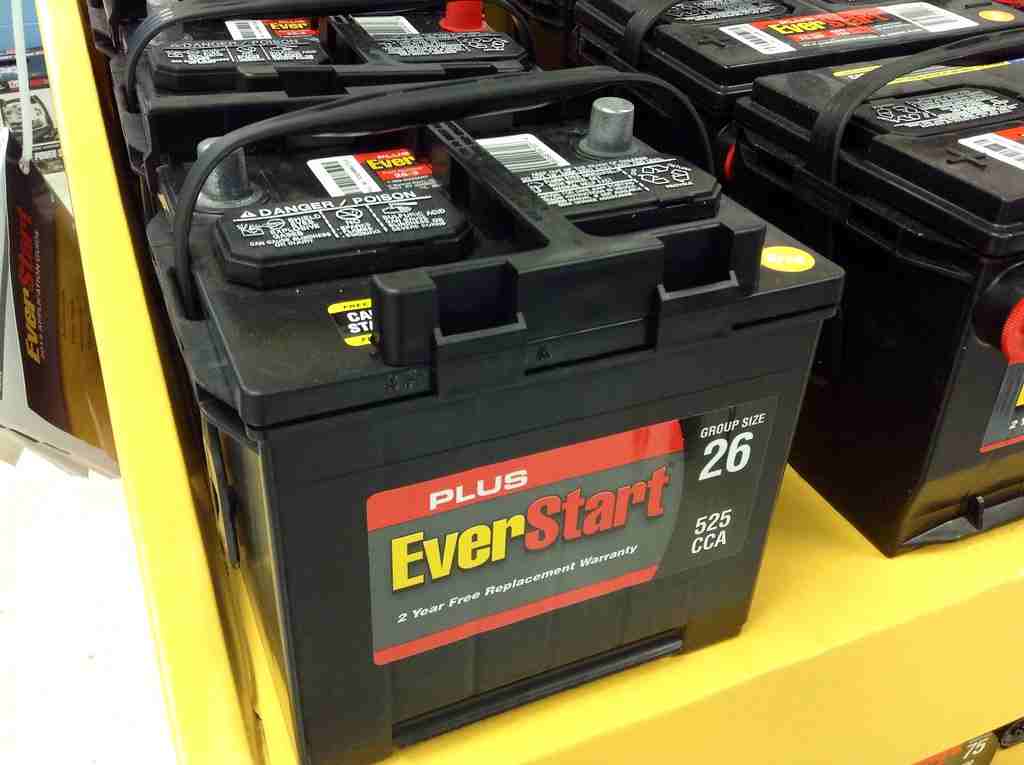
Place the new battery in the engine bay carefully and then secure it back to the bracket using the appropriate tools. Make sure it is properly aligned with the negative and positive terminals before tightening the locks. Once the battery has been properly secured, apply some lithium grease to each of the two terminals in order to prevent it from further corrosion. Make sure you do not apply grease to any other part of the engine or the battery other than the two terminals. Once they have been properly greased, reconnect the cables back to the terminals making sure to connect the positive one first. Once the positive cable has been secured to the battery, go ahead and reconnect the negative end. Make sure none of these cables come into contact with anything metal during the entire process.
-
Revert:
Once the cables have been reconnected, replace the engine cover (if any) and close the hood of your car. Make sure you remove all the tools used and leave nothing behind. Then, crank your engine and check the systems in your car. If all of them are working properly, then the process was a success.
If you are still facing issues, do not tinker with the battery unit further and book an appointment with a qualified car service provider instead. If the systems are working fine, then go ahead and reset the clock, alarm, radio and navigation systems.
There you are! It might sound like a day’s work, but in reality, it should not take more than an hour if you know what you are doing. Just make sure you have the proper replacement battery that’s specified in the manual since there are a lot of different makes and models available in the market today.
Clear your head and follow all instructions carefully and you should be able to complete the process without breaking a sweat – well, maybe just a few since the engine is quite heavy and Dubai’s weather definitely doesn’t help but otherwise, you should be good to go!
However, if you are still struggling with the procedure, then go ahead and download our car repair app and instantly get connected to the best car maintenance and car repair service providers in your locality.
Detailed customer reviews will help you choose the best service providers according to your requirements and instant quotes from them guarantees proper procedure and transparency and what’s more, you can even call experts to your place so that you don’t have to take the car to the garage yourself!
Visit our car service website for more detailed information into our procedures and policies.
