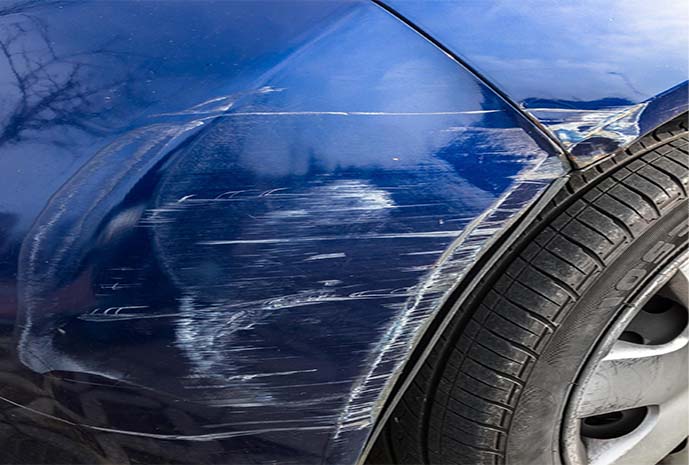
Car scratches are a common problem as any car-owner will tell you, and they can be quite infuriating, to be honest. They can occur from minor mishaps like brushing against other vehicles, sliding against tree branches and glitches during parking.
Needless to say, nobody likes botched spots that stand out in the midst of their glossy perfect paint job. Another issue is the relatively minor knowledge people have about car scratches, which adds both to the overall costs and headache.
However, if one takes out the time to analyze the scratches on their vehicle, it becomes very easy to deal with the problem. As with all other issues, getting to the root cause of the problem is the first step towards fixing it and that is the reason we decided to put together this comprehensive guide about car scratches removal that will hopefully point you towards the right direction.
So without any further delay, let’s get on to fix the car scratch problem.
The Anatomy
To deal with a scratch, one needs to first understand the anatomy of the scratch itself. Not all scratches are the same and the approaches differ greatly depending on the overall damage to the body.
We can roughly divide car scratches into three broad categories depending on their depth, namely:
- Clear-Coat Scratches – Also known as surface scratches, they do not go very deep.
- Colour-Coat Scratches – Deeper than surface scratches, they chip off the paint job of your car.
- Primer-Coat Scratches – Also known as deep scratches, these go right down to the body of your car.
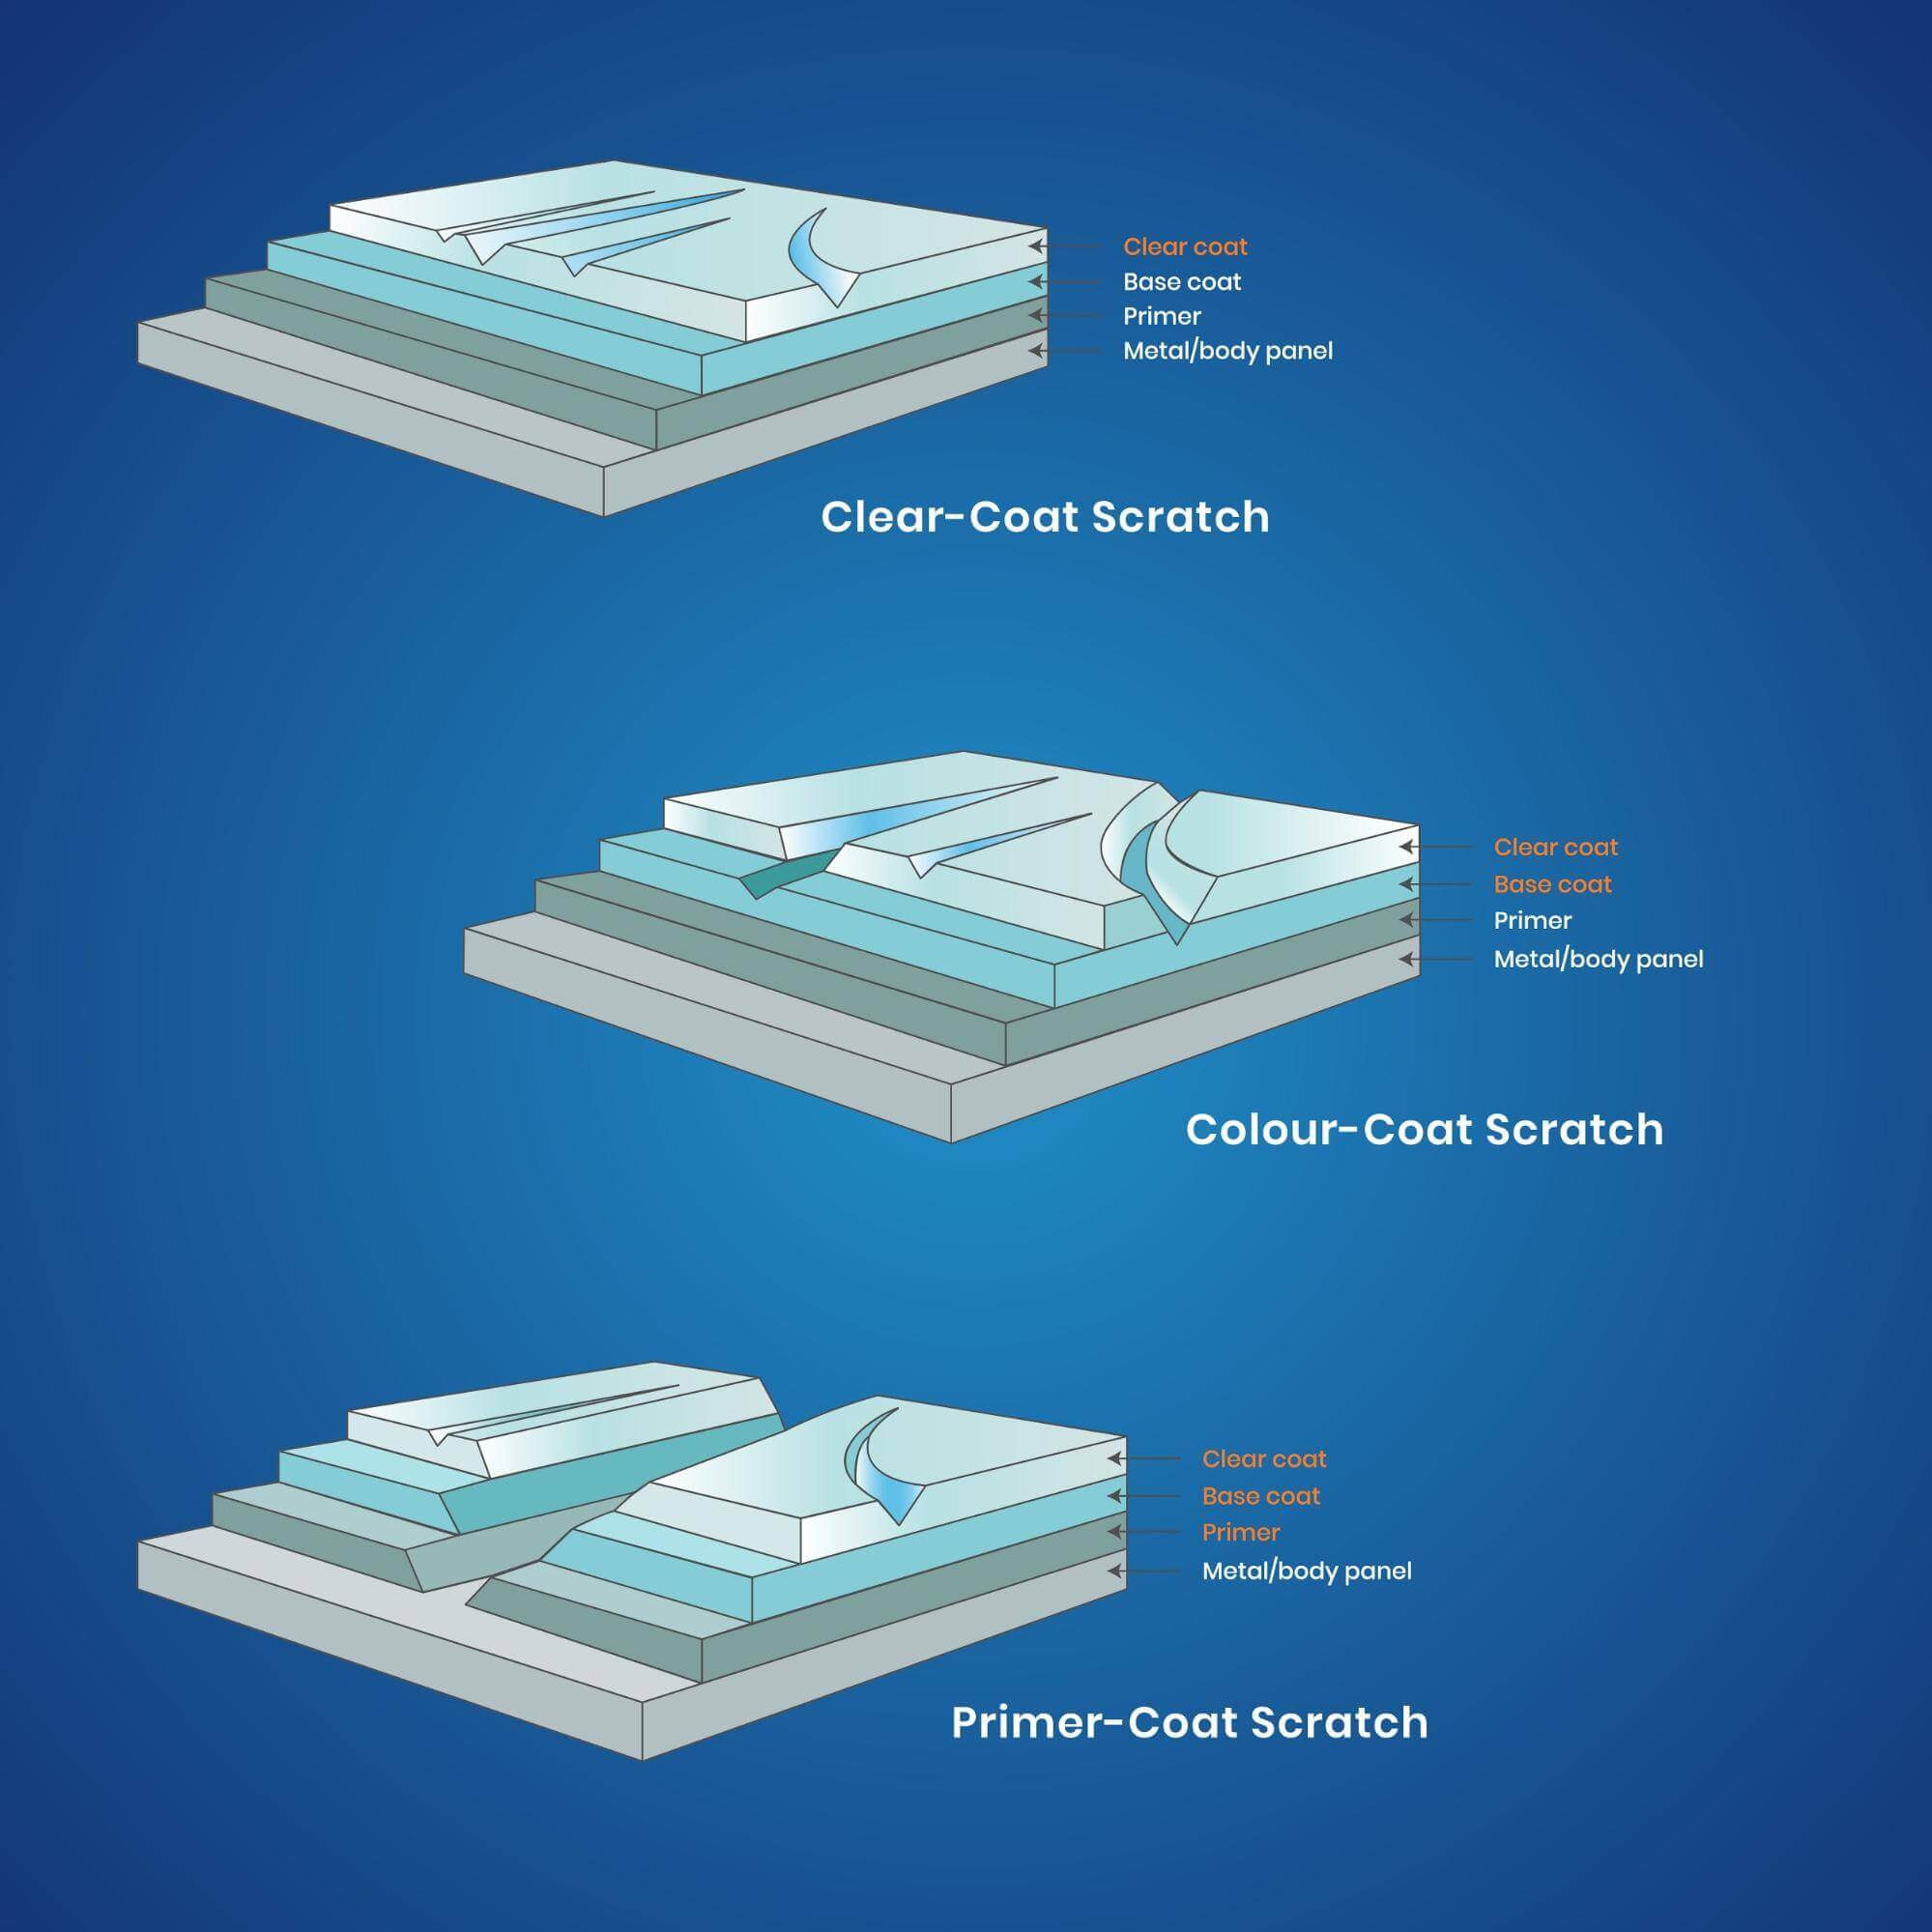
There is actually a simple method one can use to determine the depth and damage of a scratch. Simply run a fingernail over the scratch gently taking care not to cause further damage to your car. If your fingernail gets caught in the grooves of the scratches, then it probably goes into the paint job on your car. However, if your fingernail does not get caught, then the scratch is probably on the surface and can be fixed with a common compound.
Deep scratches are not that hard to differentiate since they are quite prominent and the body of your car is generally exposed. These require dedicated treatment and we highly recommend hiring a professional for the same.
The Approach
As you can tell from the illustrations above, the coat on top of your car body usually comes in three layers – the primer, the colour and the clear coat. Unless you are using an aging Chevvy from the 70s, chances are the paint used on your car is a clear-coated catalyzed enamel which is artificially hardened by toxic chemicals. These are painted using dedicated equipment in the factor that makes it stable within hours of application.
However, the paint that is available at auto shops differs greatly from this factory mix. The one available for daily use is basically a lacquer, which makes use of rapidly evaporating solvents that leave behind solid colour particles. These may seem quite sturdy within minutes of application but we highly recommend leaving it on overnight because these keep on shrinking for quite some time after application. If a fresh coat of paint is required over the base coat, then apply that the next morning. Simply degrease the area with solvent before application of the fresh coat and you are good to go. Repeat this process daily to build up the paint film according to your desired thickness.
The Supplies
The next step of the process is to get hold of the supplies required for the touch-up. These will differ greatly depending on the anatomy of your scratch, but we recommend getting a professional kit if you find yourself doing this often. While most minor scratches can be fixed with just a compound and a cloth, these supplies will definitely make your life easier.
The most common supplies required are:
-
- Prep Solvent
- Rubbing Compound
- Sandpaper
- Rubber Gloves
- Tack Rag
- Pre-taped Cover
- Primer Coat
- Base Coat
- Clear Coat
The Code
One problem that we see many struggling with is finding the ideal colour coat of their car that matches the factory paint job. Again, if the car you are trying to restore is not from the Jurassic era, then chances are you will find the colour code quite easily. The factory-paint code should be there somewhere on your car, probably on a metal-plaque or a sticker under the hood of your car.
Nowadays, manufacturers tend to leave the colour-codes of the most popular colours of their cars on their official website, so perhaps searching there can also help. If you are still unsure, then you can definitely visit your car dealer, but this is quite expensive compared to getting one off the shelf. If the car you are trying to repair is beyond the scope of the car dealer or has been custom-painted in the first place, then you will probably need to head on over to a custom-shop. They will generally charge you a small amount to custom-mix and test the colour and more often than not, they get it quite right. Nowadays, there are even online retailers who provide pretty accurate coats and these are delivered right to your doorstep.
The Method
The very first thing that needs to be taken care of is the layer of dust particles on your car. A hand wash in this case is preferred but you are free to get it done from a car-wash as well. Just make sure that you clean the damaged part of the car thoroughly with hand after the automatic wash. This is mainly due to dust particles accumulating on the body of your car that can further cause damage if not washed off properly.
Once you have the car ready for repair, it’s time to check the extent of the scratch with your fingernails. We recommend doing this after the wash as it will be easier to identify both the problem area and the depth of the scratch as accurately as possible. Once the type of scratch has been identified, you can continue with any of the following three methods depending on your findings.
I. Clear-Coat Scratches
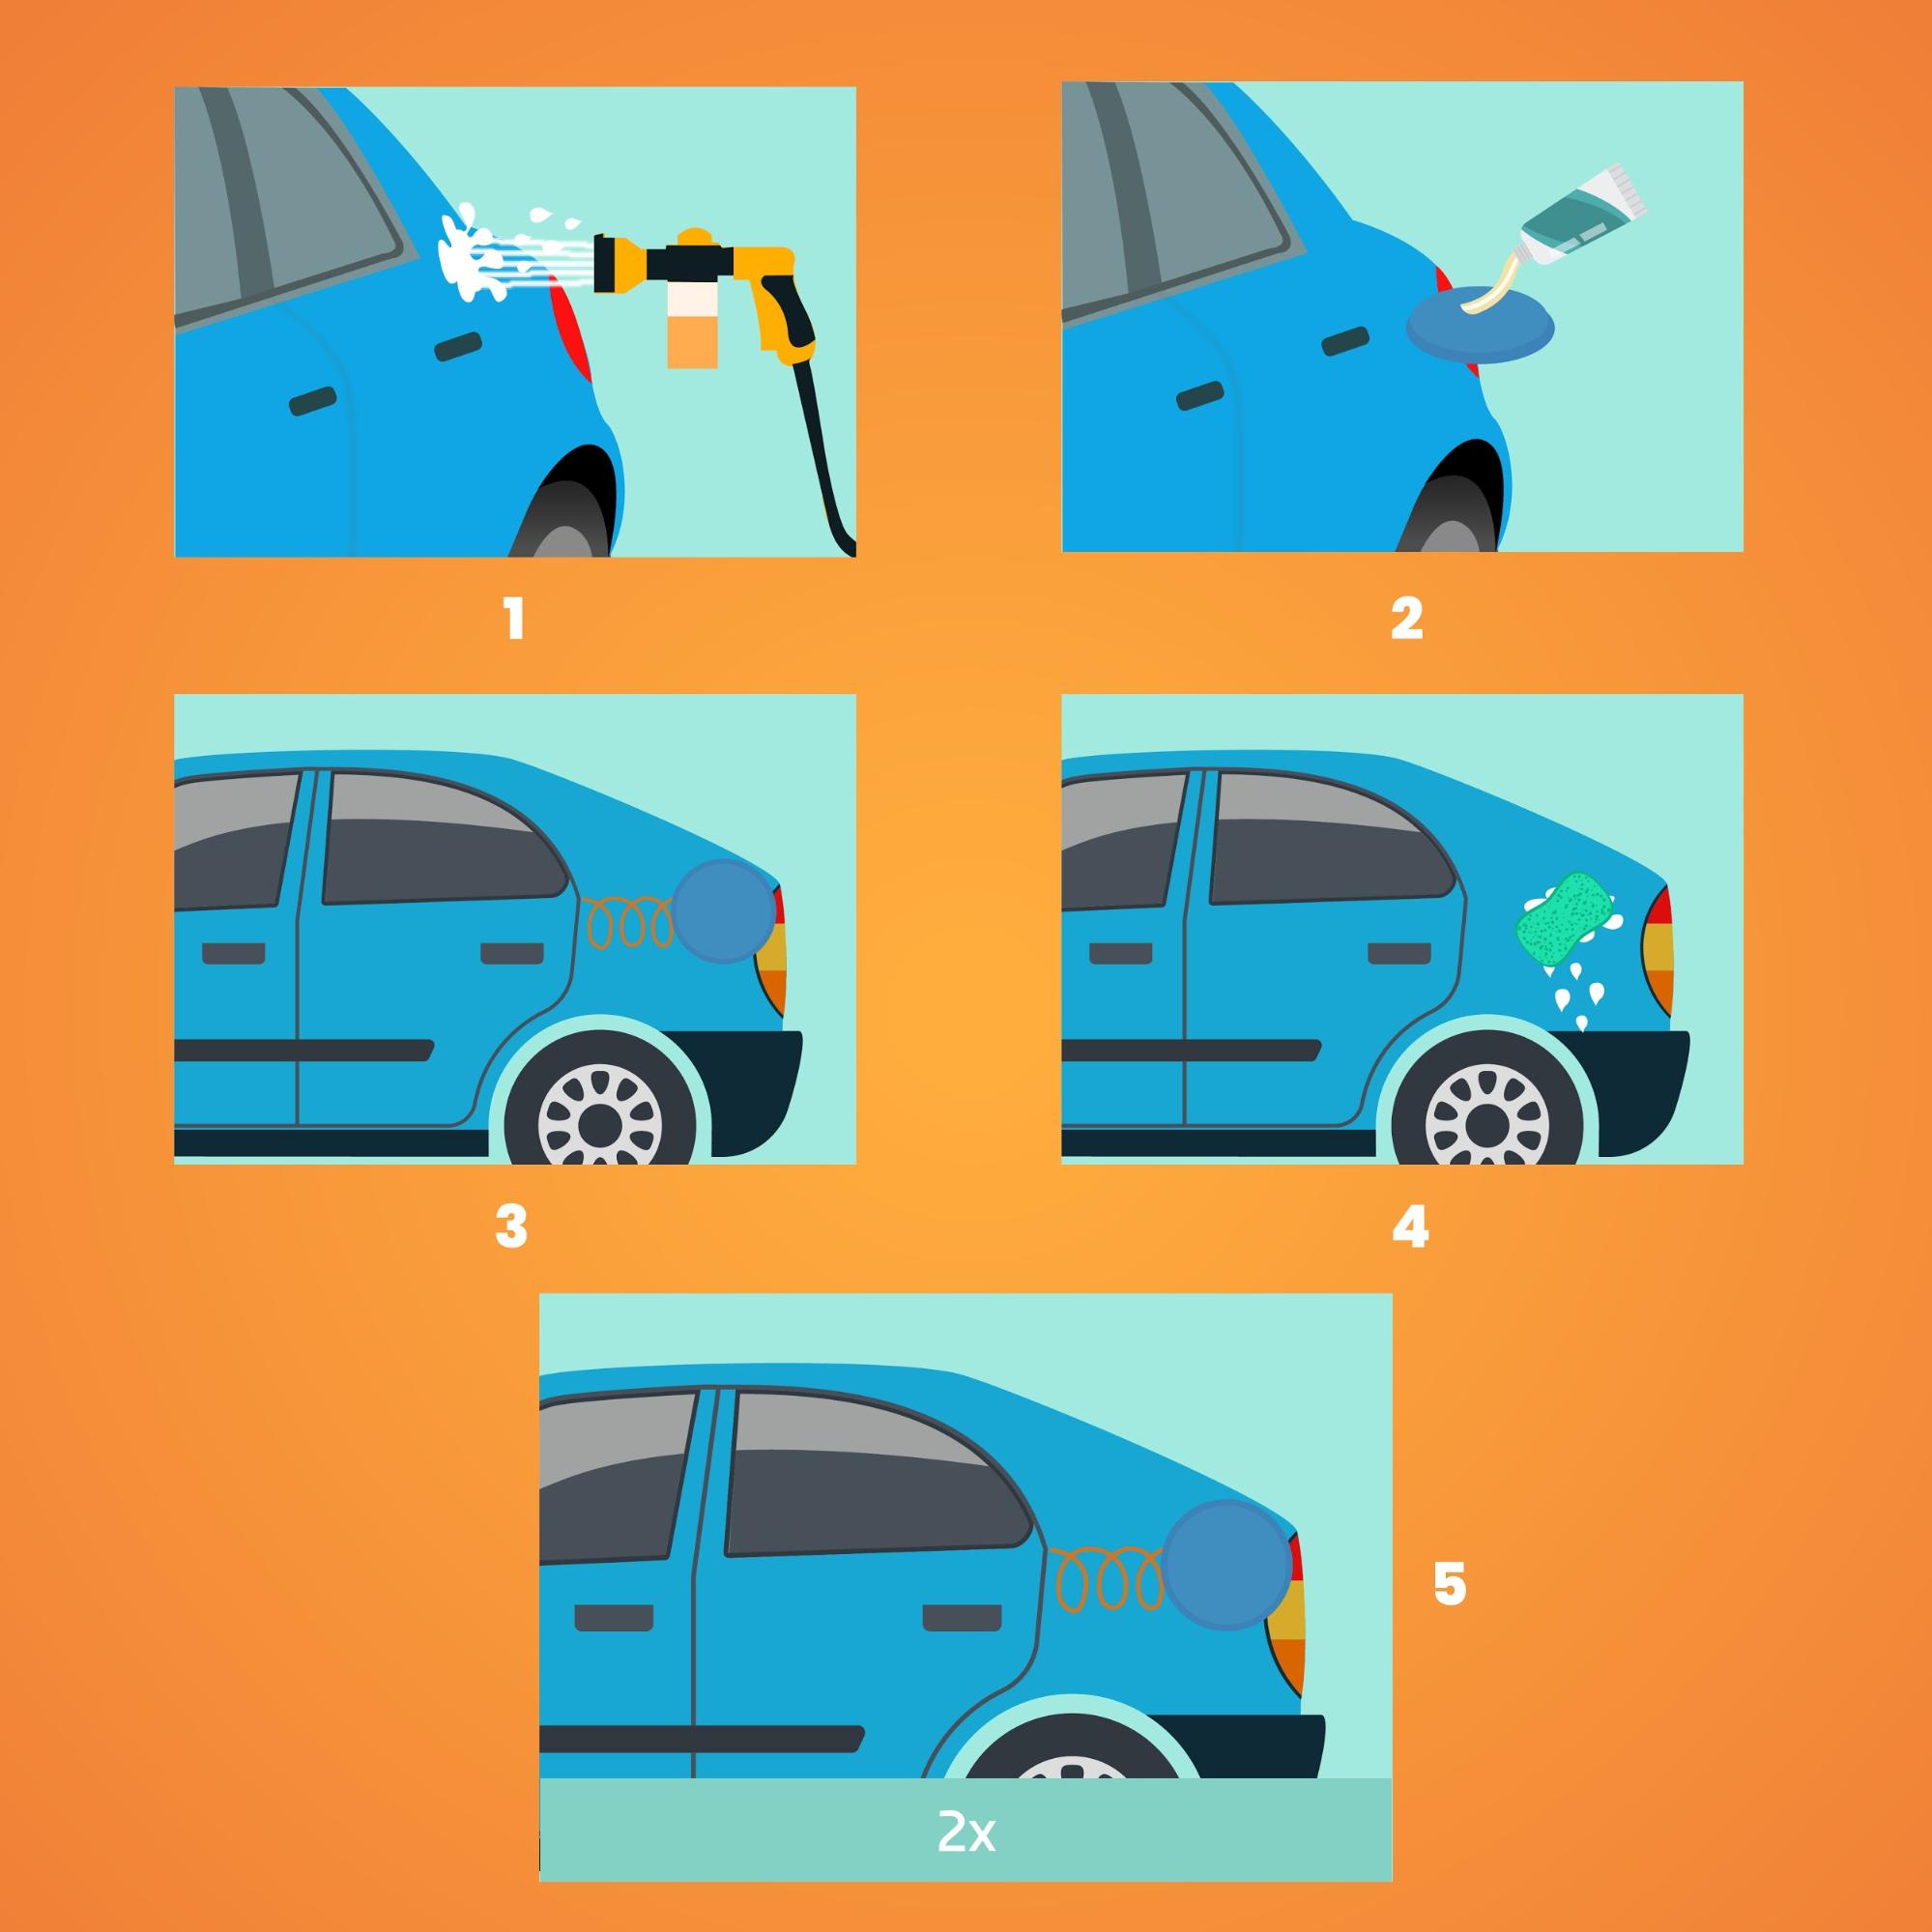
These are generally the most common scratches on any car but are also the easiest to deal with. Since the scratch itself does not penetrate the colour-coating of your car, a simple compound like toothpaste can help eradicate these marks. Even though we do not recommend using such DIY compounds and almost always prefer materials tailor-made for such touch-ups, it doesn’t make any sense to get hold of one just for a single scratch alone.
If you have considerable damage to the car and it’s quite visible, then we highly recommend getting one from your local auto shop.
Once you are ready with the supplies, continue in the following manner:
- Make sure there are no dust particles on the affected area. Wash the area with water if required and wipe it with a clean dry towel.
- Dampen a microfiber towel with cold water and apply a small amount of compound on it. Take care not to use too much as this will generally set you back to square 1.
- Gently rub the cloth over the affected area making sure that you cover the entire affected area. Use small circular motions to rub the compound in order to buff out the scratches.
- Rinse and repeat the process until you are satisfied with the result. Wait for 30 minutes between each application process for the best results. Do not repeat for more than 3 times.
- Wipe away the excess compound with a clean wet microfiber towel and then wash the area with water thoroughly.
- Use a clean dry towel to wipe your car.
Please refer to a professional if you are unsure about the process. People working at auto shops also generally have an idea on this, so you can take help from them as well.
II. Colour-Coat Scratches
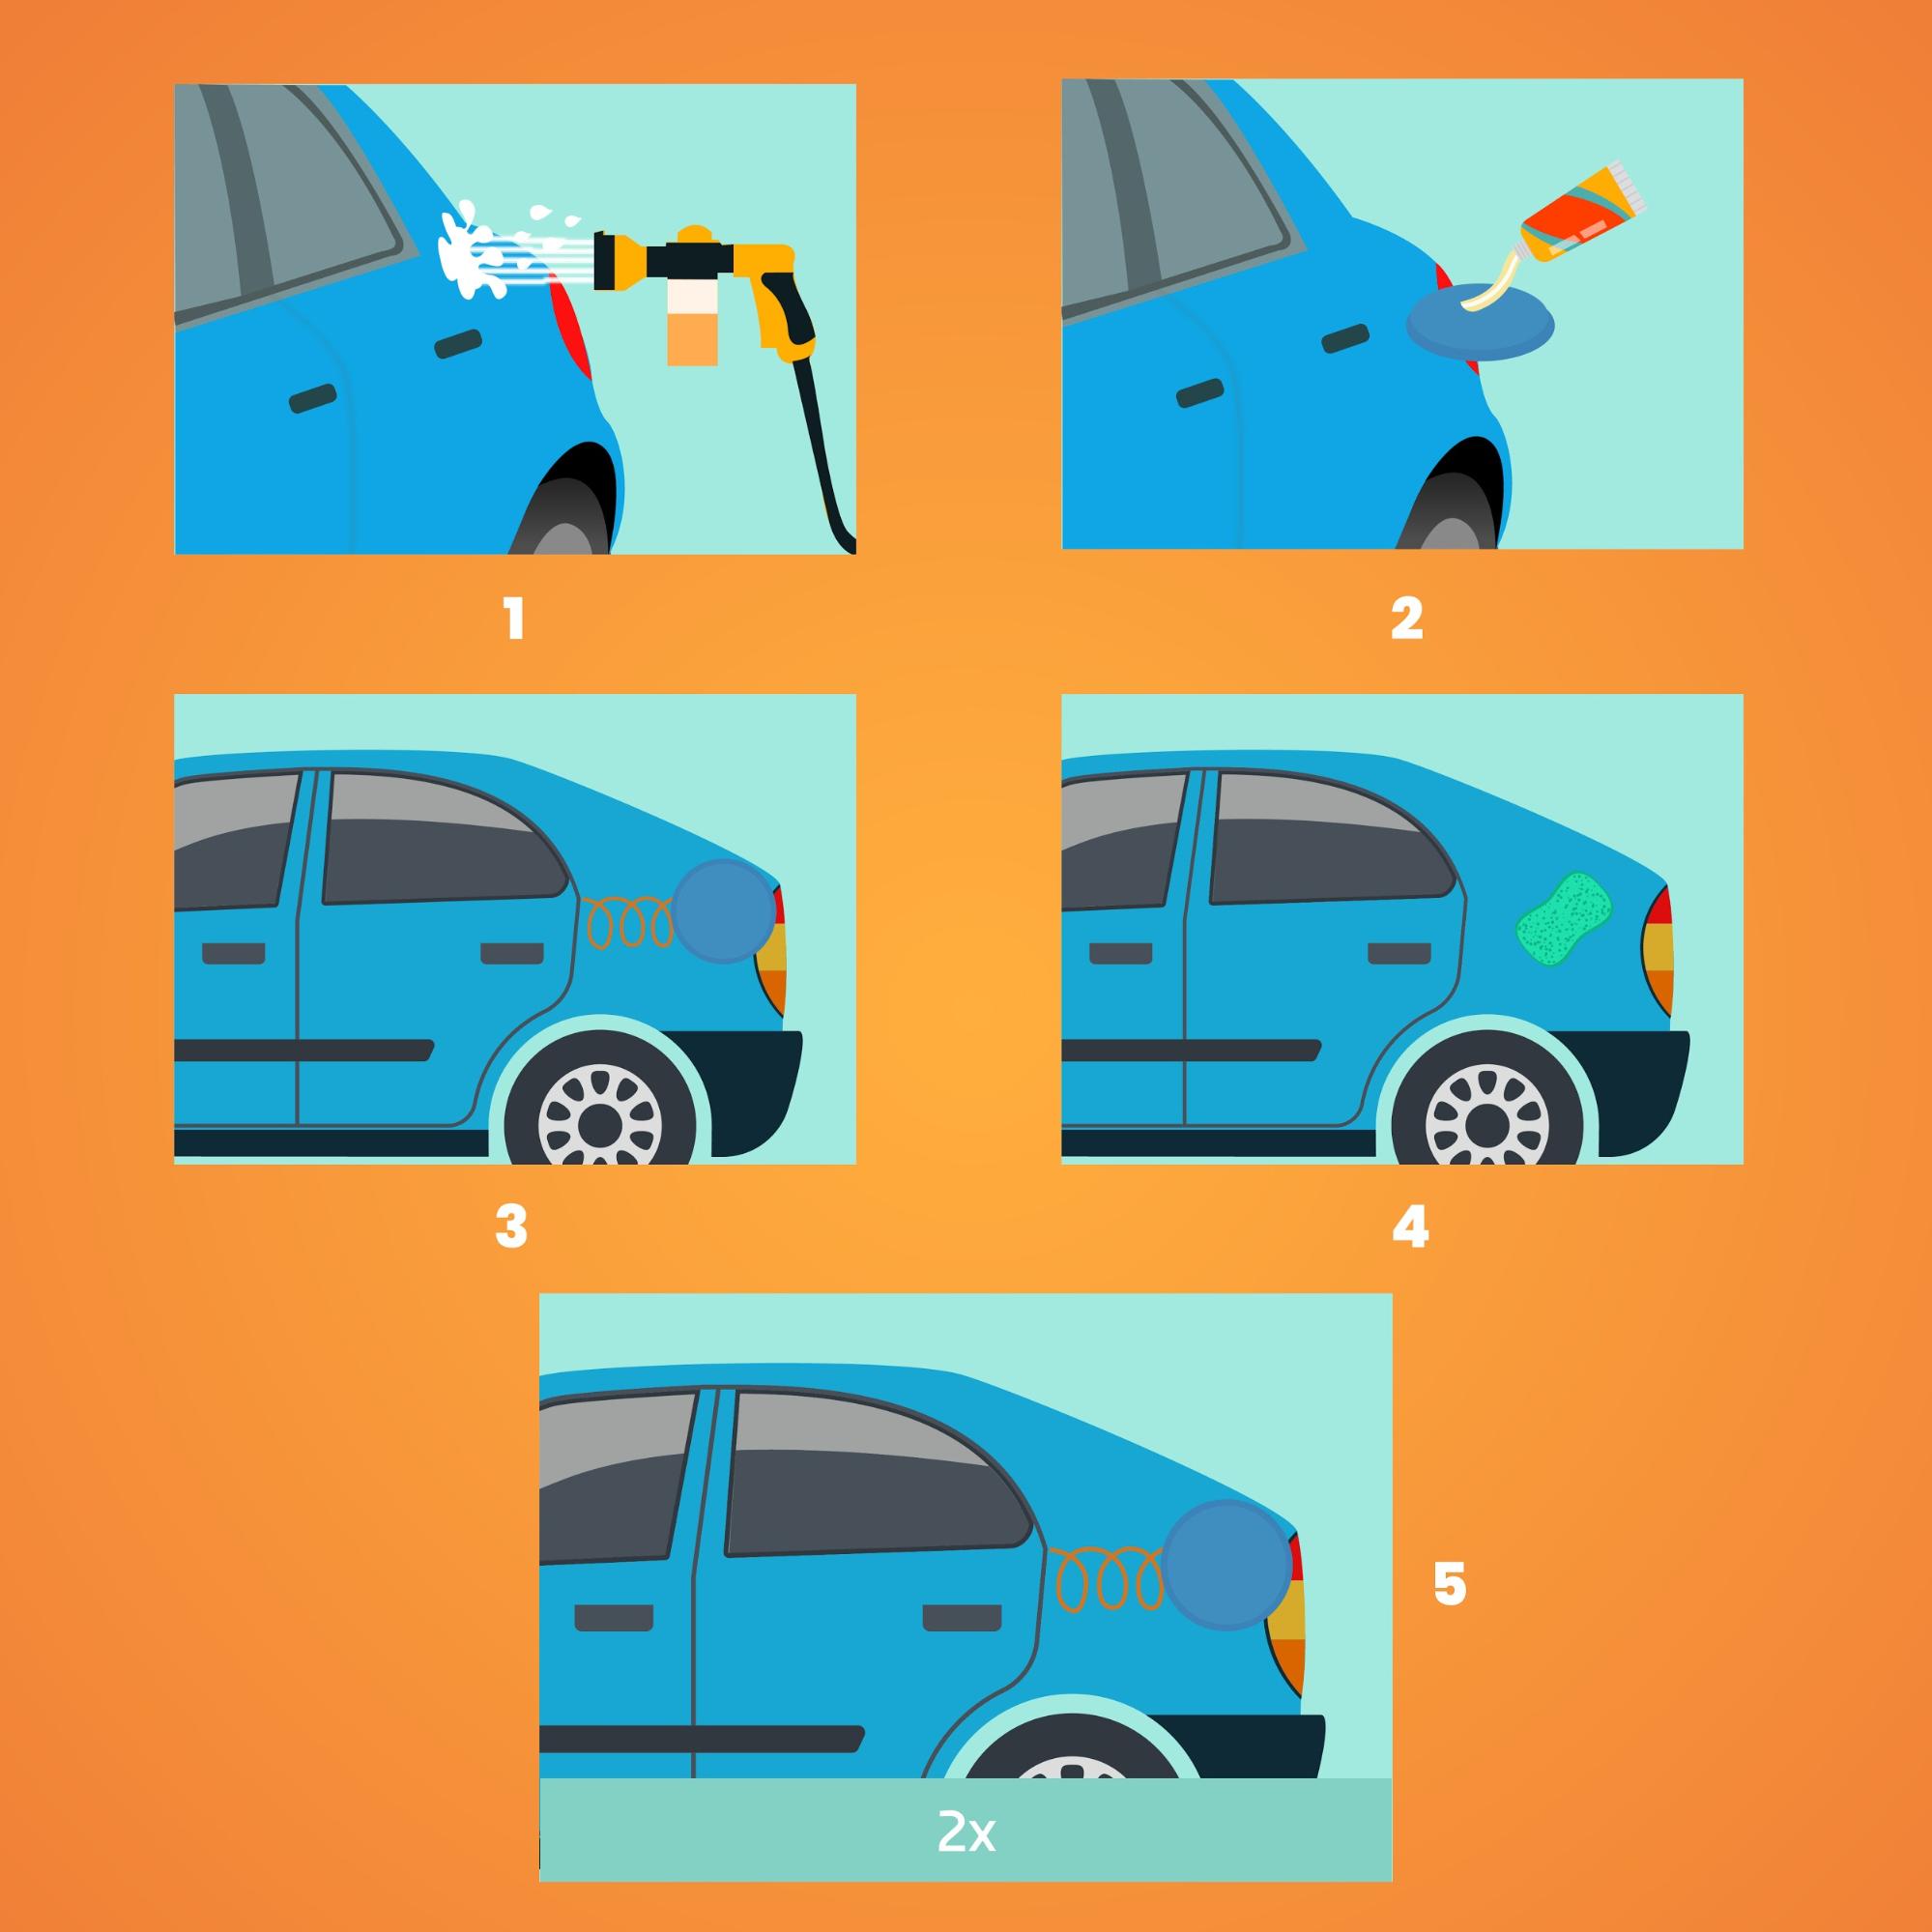
These are more stubborn than surface scratches and require proper equipment to get rid of them. Colour-coat scratches penetrate the protective clear-coat layer and damage the actual paint job of your car. Hence, one not only needs to fix the top coating but also needs to respray the paint in order to make it shine. This is where you will be requiring the scratch removal kits that we were talking about. Once you have the necessary supplies handy, consider the following steps:
- Wash the car thoroughly as stated in the previous section.
- Use 180-grit sandpaper and thoroughly brush off the entire coating in the affected area until you can see the primer underneath. The area will look much worse than before, but trust us, it’s necessary.
- Use a protective pre-taped cover in order to block out the areas you don’t want to paint.
- Put on a pair of rubber gloves and spray paint the affected area with the appropriate colour.
- Wait for a few minutes and sand the area with finer paper in order to polish it.
- Reapply paint as required and keep sanding the area with finer and finer paper. Each fresh coat gets you closer to a factory finish.
- Once you are satisfied with the result, apply clear-coat in order to preserve and protect your paint job.
- Leave the clear-coat on overnight and give it a final polish the day after.
III. Primer-Coat Scratches
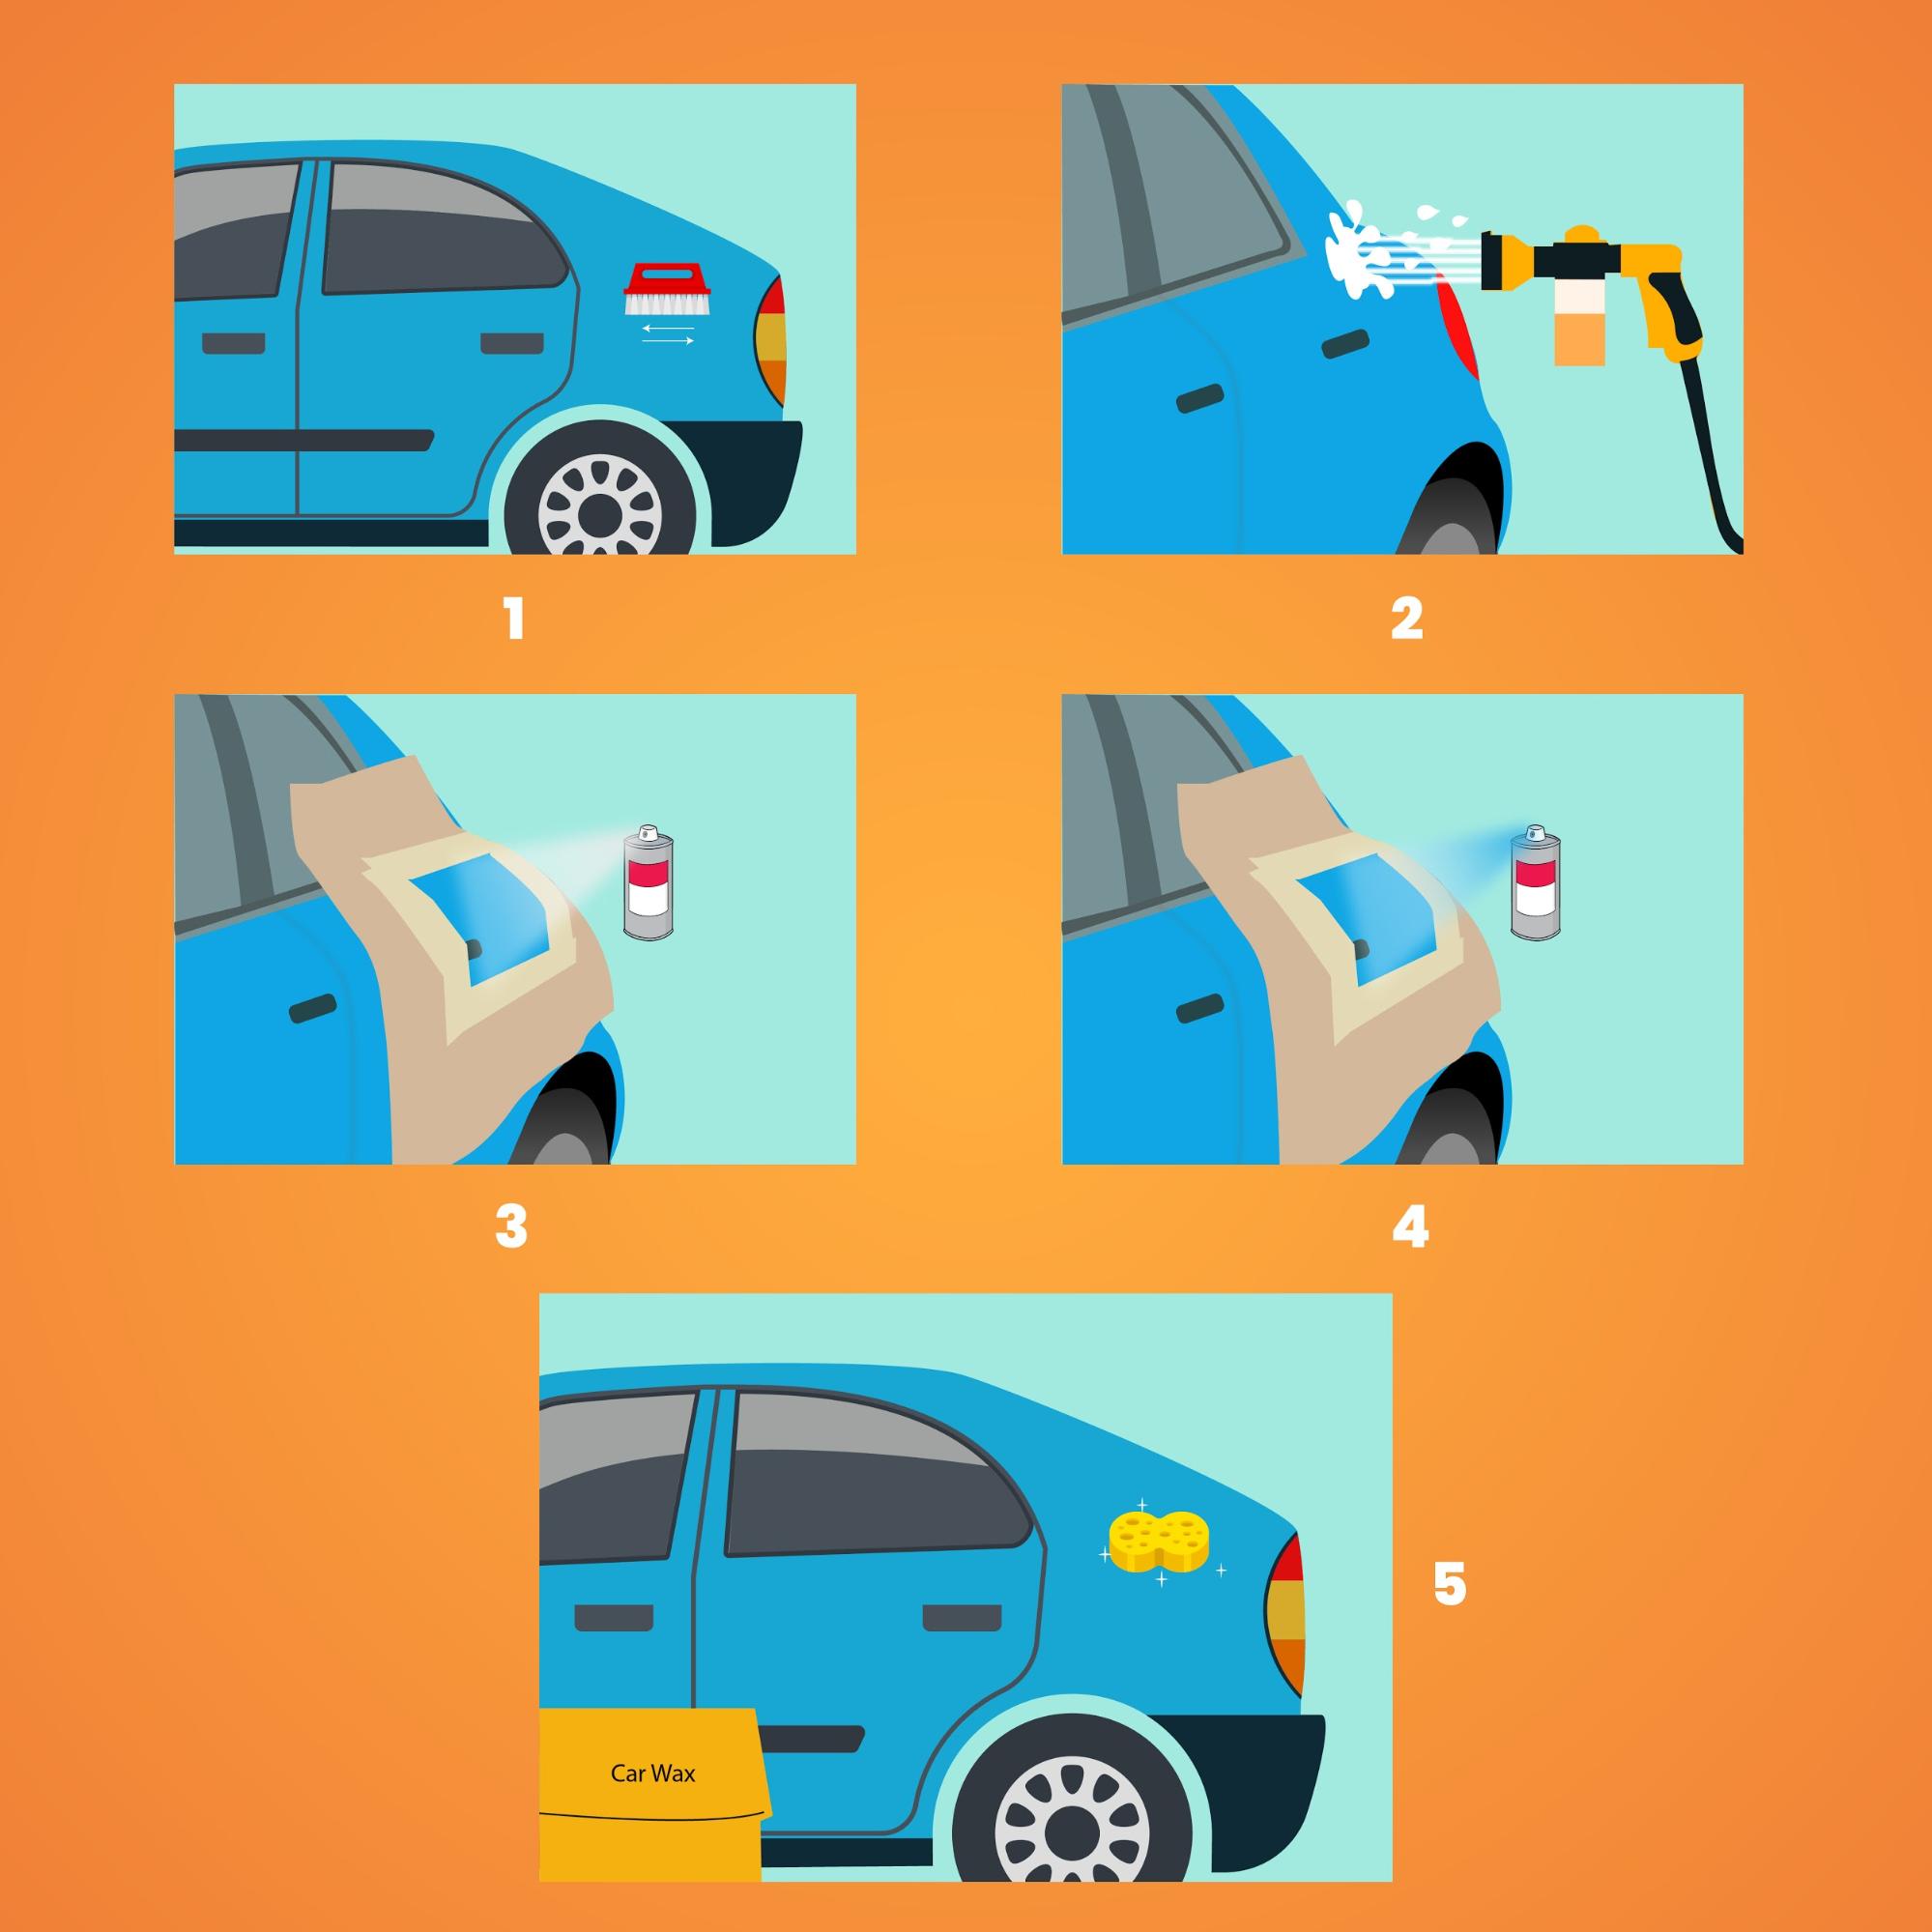
Primer-coat scratches, also known as deep scratches, generally chip off the entire length of the coating and exposes the car body to the outer atmosphere. Due to this reason alone, primer-coat scratches need to be fixed as soon as possible in order to prevent further damage.
Primer-coat scratches are generally tough to fix and require quite an effort in part of the user so if you are not proficient with the task, we highly recommend taking the help of a professional. However, if you are up for the job and have access to the various tools necessary, then consider the following steps:
- Wash car thoroughly.
- Sand the entire area until the coating has been stripped off and the body is exposed.
- Level the surface with finer sandpaper until a smooth texture can be felt.
- Spray a couple of coats of primer taking care not to exceed the area. Try using a colour that closely resembles the base coat of your car. Also, wait for 10-15 minutes before applying a fresh coat so as to let the previous coat dry.
- Spray paint the area once the primer is dry. Follow the steps as you would for a colour-coat scratch keeping in mind to polish in-between every fresh coat.
- Apply clear-coat once you are happy with the paint job. Let the clear-coat dry overnight.
- Polish your car thoroughly with car wax the following morning.
Quick Fixes for Car Scratch Removal
The following section will focus on a few quick fixes. However, keep in mind that these are entirely temporary solutions and one should not depend on them in the long run. If you have a dire need for your car to look good for a particular event, you may opt for one of the following techniques but make sure to get your car repaired as soon as you have time.
-
Car Scratch Remover
There are several products on the market that promises to completely remove your scratch with just a single wipe. However, this is mostly not the case. Some premium products on the market do manage to hide your scratch temporarily but there are none that can get rid of them completely. Use these at your own discretion and get your car repair done as soon as possible from a dedicated service provider.
-
Magic Pens
These are quite handy little things on road trips but are in no way a permanent fix to the problem. Many tend to use it in areas that are not quite visible to onlookers like under the hood and near the trunk mainly because of their ability to quickly hide marks. They are quite easy to use as well but we again recommend getting your car repaired once you have the time and option.
These are the basic ways one can fix the scratches or aberrations on their cars. Even though it might seem quite easy and something one can take care of at the comfort of their own garages, we still highly recommend trained professionals simply because of the losses incurred in case of improper treatment.
Click here for Android (or here in case of iOS) to download the Carcility app and connect with the best service providers in your locality, get a quote according to your requirements and book your services instantly.
We can, with Carcility!
